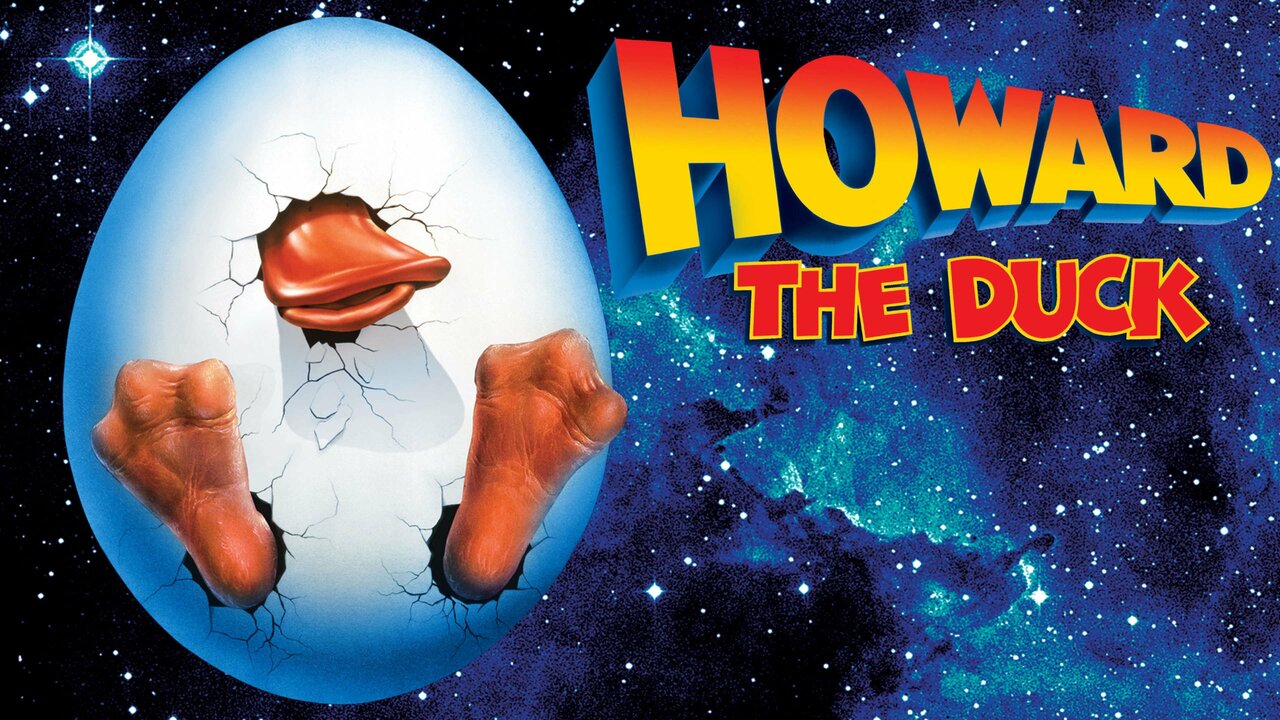
Howard the Duck
Movie
1986
PG
1 HOUR 51 MINS
Science fiction
Action
Adventure
Fantasy
A sarcastic anthropomorphic duck from another planet is accidentally brought to Earth, where he meets a punk rocker and must save the world from an evil alien invasion while trying to find a way back home.
Cast & Crew

Lea Thompson Beverly Switzler
Jeffrey Jones Dr. Walter Jenning
Tim Robbins Phil Blumburtt
Paul Guilfoyle Lieutenant Welker
Liz Sagal Ronette
Dominique Davalos Cal
Holly Robinson Peete K.C.
Tommy Swerdlow Ginger Moss
Richard Edson Ritchie
Miles Chapin Carter
Richard McGonagle First Cop
Virginia Capers Cora Mae
Debbie Lee Carrington Additional Ducks
David Paymer Larry

Thomas Dolby Bartender in Rock Club
Willard Huyck Director
Willard Huyck Screenwriter
Gloria Katz Screenwriter
Gloria Katz Producer
Robert Latham Brown Producer
George Lucas Executive Producer
John Barry Original Music
Richard H. Kline Cinematography
Michael Chandler Film Editing
Sidney Wolinsky Film Editing
Dianne Crittenden Casting
Nancy Nayor Casting
Peter Jamison Production Design
Mark Billerman Art Director
Blake Russell Art Director
Phil Abramson Set Decoration
Gary Heider Set Decoration
Joe I. Tompkins Costume Design
⨁Full Cast & Crew